
I’ve always wanted to bake more. It’s something I love to do, but never felt like I had the right set up for. My old, cramped kitchen didn’t have a lot of storage so my baking supplies were sort of shoved in random cabinets all over the place – wherever there was room. And then I didn’t have a ton of counter space making it hard to do things like kneading. I made do, but I always vowed to myself when we had our new kitchen I would do more baking.
Well that time is FINALLY here and I’m so thrilled that I have a gorgeous, large island that allows me too knead, roll, and mix to my hearts content. One of the first things I did when we moved back in was to make a simple peasant bread one night to go along with some soup for dinner. My kids went NUTS over the warm, fresh bread. They couldn’t get enough. So I knew I had to make more.
Well imagine my excitement when I saw that Busy Toddler had a recipe for Bread in a Bag – it is the perfect way to get them involved in the process!
The full recipe is at the bottom of this post but here is a brief description of the process along with some photos!
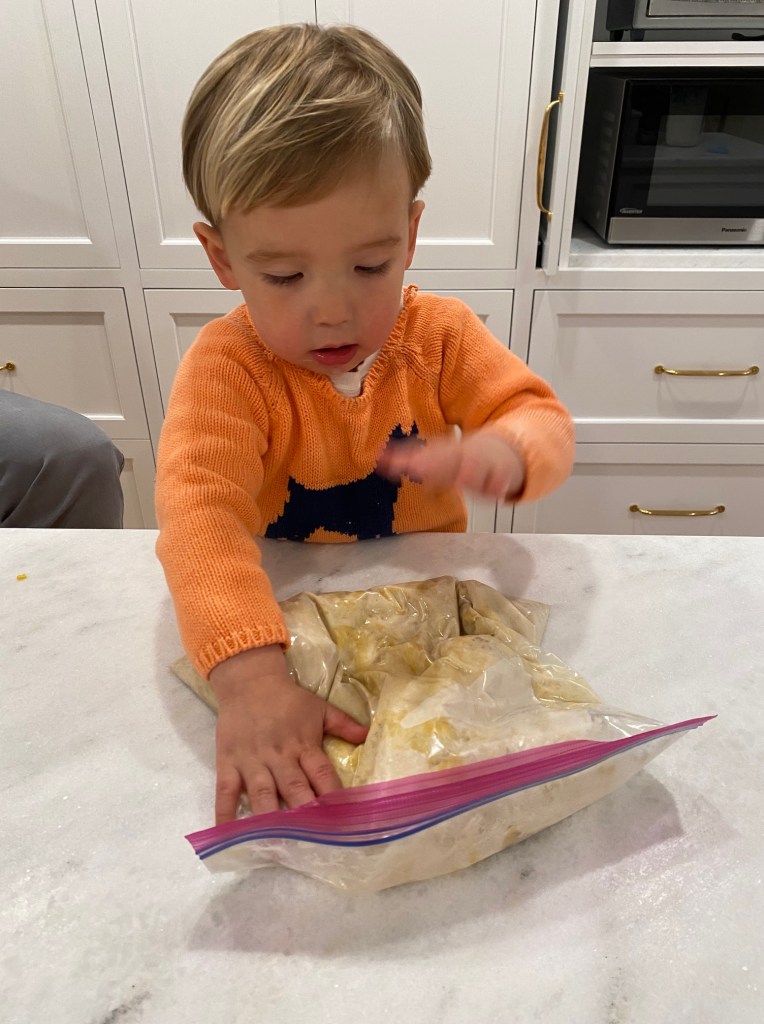
You start by combining flour, sugar, and yeast. I like to pre-measure the ingredients in smaller bowls and allow the kids to scoop them into a bigger bowl. It gives them freedom and control over it while ensuring they add the exact right amounts. Once those are combined we poured them into a ziplock bag, added the warm water, sealed the bag then massaged it to combine the wet and dry ingredients. Once everything looked combined – as best I could see through the cloudy bag – we set it on the counter to proof for 10 minutes.

Once proofed we repeated the process with more flour, some salt and melted butter. You can dump straight into the bag or do the bowl-to-bag technique. Seal it up and massage it again. After it’s combined open the bag and add one more cup of flour, seal and massage. This is the last smoosh.
Now for the messy part. The bag really does minimize the mess but this activity isn’t completely mess free….sorry. BUT it’s worth it I promise! Once you’ve done the last smoosh you want to empty the dough onto a floured surface. I found it easiest to cut the bag open so you can really scrape the sides of the bag with your fingers or a bench scraper. The kids LOVE this part. They loved dusting the counter with the flour and then feeling the dough squish between their fingers. I helped show them how to knead the dough and bring it together into a firm ball, then let them roll it around a bit. The younger your kids are the more you’ll likely have to do in this step – you just want to make sure the dough comes together and gets a nice tight knead.

After that it’s all hands off! You pop the dough balls into a greased loaf pan, cover with a towel, let rise fo 30-45 minutes then BAKE!

This is a very simple bread recipe, but don’t let that fool you…the result is ABSOLUTELY DELICIOUS! It will make your kitchen and house smell so good and the bread itself is really yummy. It paired beautifully with the Creamy Tortellini Soup I made for dinner.
IF you don’t eat the entire loaf in one sitting (we did the first time….that’s why I increased my workforce to x3 for the next round :)) we have been enjoying it toasted with butter for breakfast and my husband even made some avocado toast with it.
The best part by far though was seeing how proud my kids were of their creation! I can’t wait to do it again and again and again.

Bread in a Bag
Yields: One Loaf (3-6 servings)
1 gallon sized Ziploc plastic bag
3 cups all purpose flour, separated
1/4 cup sugar
1 packet yeast (I use Fleischmann’s Active Dry Yeast)
1 cup warm water
4 tablespoons butter, melted
1 large pinch of salt
Combine 1 cup flour, sugar, and yeast packet in a bowl then pour into the Ziplock bag.
Add warm water. Press out any excess air and seal bag. Shake and massage the bag with your hands combining the ingredients.
Lay the bag flat to rest for for 10 minutes.
In a bowl, combine 1 cup of flour with salt. Pour into bag, then add melted butter to bag. Press out any excess air and seal bag. Shake, smoosh and massage again.
Open bag and add in last cup of flour. Seal bag, and mix. This is the last smoosh.
Open bag and dump out the dough onto a floured surface. Cut the bag open entirely and scrape the sides of the bag with your fingers and/or a bench scraper to get all the dough scraps.
With floured hands, combine the dough and knead for 5-10 minutes. You want it to be a firm ball.
Shape into an oval and place dough in a greased loaf pan.
Lay towel over the loaf pan and set it in a warm spot in your house. Allow the dough to rest and rise for 30-45 minutes. While it’s rising preheat the oven to 375.
Once the dough has risen, remove towel and bake the dough for 25 minutes.
Let bread cool on a wire rack for about 20-30 minutes before slicing (this might be the hardest part!).
